I hope everyone is doing well and thoroughly enjoying the vibrant tech community here. Today, let's dive into the art of post-processing.

Post-processing is a crucial step in photography, transforming good shots into great ones. Lightroom is a powerful tool for this.
Here are some tips to help you get the best out of your photos.
First of all we will import the photo in our software from which we have to color grade it and after that we will start the further processOrganize Your Photos
Then we will go to the lens correction option in Lightroom and enable profile correction and remove chromatic aberration, which will remove lens distortion from our photo and increase the quality of the photoStart with Lens Corrections

Now we will adjust the exposure and contrast according to our photo and color tone. I have also adjusted it according to my need.Adjust Exposure and Contrast

Now we will adjust the highlights and shadows in our photo as per the needTweak Highlights and Shadows

Now we will adjust the white balance according to our photo and color tone. I had to give a blue tone, so I put the temperature in minus and adjusted the vibration a little according to my needs. You can also adjust it according to your needs.Work on White Balance

Now for a while we will adjust the HSL and color grading wheel according to what color tone we want to give to the photoEnhance Colors with HSL Panel


Now we will adjust the sharpening and noise reduction according to our photo. Now I wanted my photo to be crisp so I increased the sharpening which gave a crisp look to my photo.Sharpen and Reduce Noise

Now we can adjust Vignettes for FocusAdd Vignettes for Focus
Now we have to use the masking tool according to our photo. For example, if I want to give a blue tone to the background, then I will decrease the temperature by masking the background. Similarly, we can use the masking tool according to our need.Masking

Now, if something is missing from our photo, we will fix it and then do it expertly.Final Touches and Export

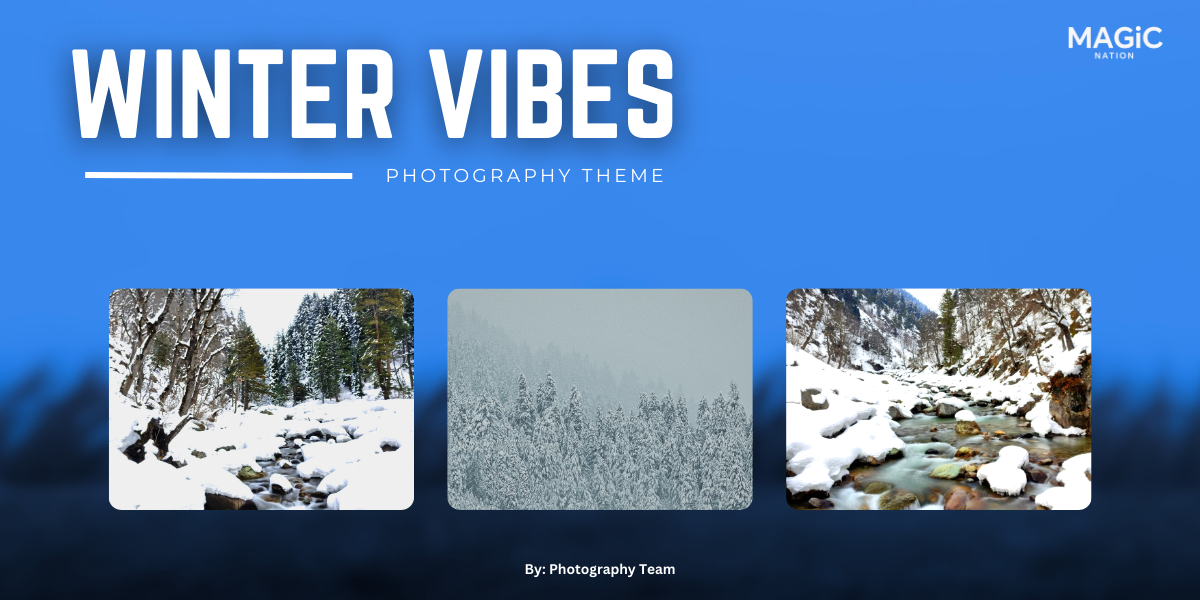
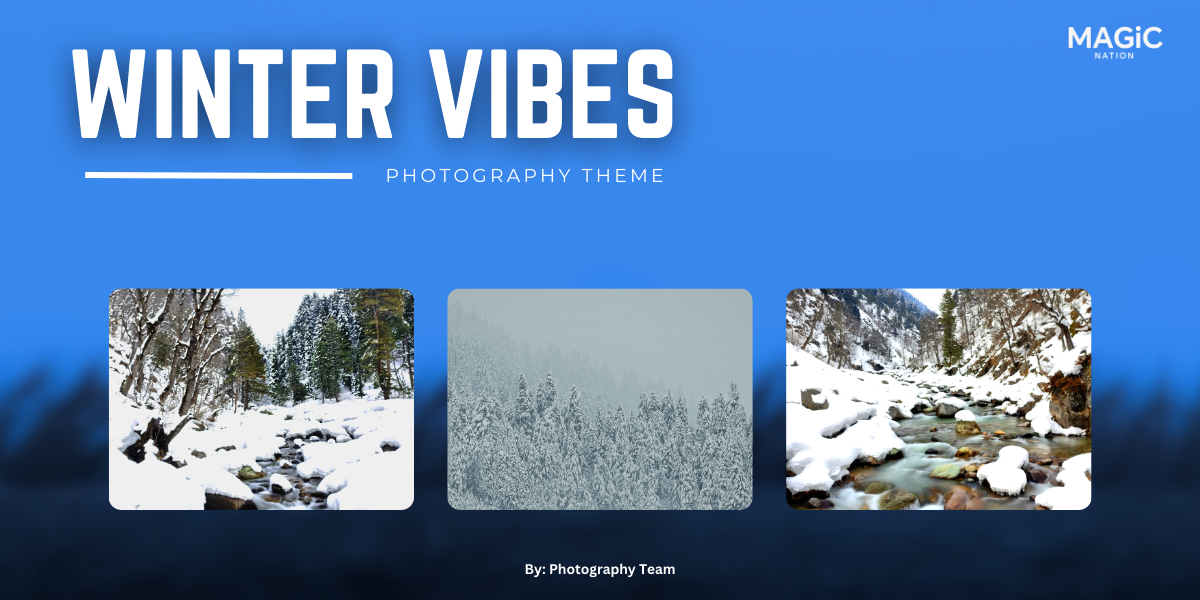
And after following all these steps properly, our result will be something like this


Excited to share today's topic with you all! If you have any questions or uncertainties, feel free to drop them in the comments below. Stay tuned for more intriguing discussions coming your way soon! Keep engaging, keep inspiring!
Signing off,
Navraj Rathore


